CyberRear SL-2 134g
Tech info
Description
Road-race rear hub, optimal spoke camber, classic J-bend spokes, 2.8mm holes.
QR 10x130mm standard, oversized axle Ø17mm, ABEC5 cartridge bearings (high load capacity) with external hexagonal preload tuner.
Titanium 32T ratchet wheel, OR-spring oversized and sealed freewheel body.
Black anodized hub-body with laser etched graphics.
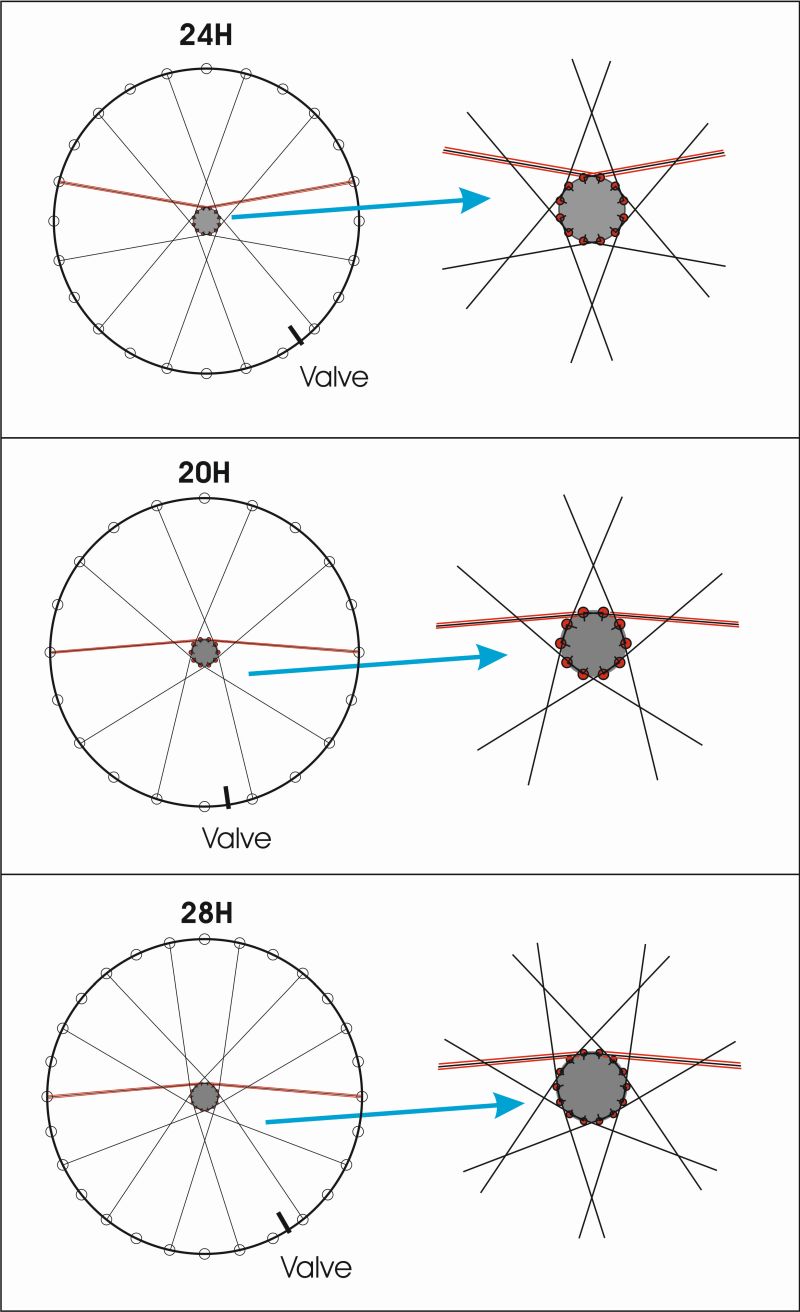
Flanges options (for standard J-bend spokes): 20-24-28h
Hub Dimensions
Lacing
CyberRear SL-2 wheel-building
Here you find all the necessary instructions to realize your dream wheels with pre-calculated spoke lengths.
Follow instruction step by step:
1)Measure your "spoke-end diameter"
2)Find your rear spoke length (left side) on table A
3)Find your rear spoke length and lacing pattern (drive side) on table B
(All measures are expressed in mm)
4)Lace the wheel respecting correct lacing pattern (see below)
Maximum spoke tension:- Refer to manual
Warning: spoke lacing and tensioning require skills and experience,refer to an expert professional wheel builder for these operations.
1)"Spoke-End-Diameter"
Rim manufacturers always offer ERD figures however we warmly recommend to precisely measure the rim+nipple combination.
Basically a correct spoke calculation requires exact "spoke-end diameter" and rim drilling.
Spoke-end diameter depends on your rim internal diameter and nipple type.
How to measure "Spoke-End-Diameter"
2)CyberRear SL-2
Left side - Radial lacing - Elbow spokes
|
Spoke-end Diameter
|
Spoke Length
|
|
515
|
243
|
|
520
|
245
|
|
525
|
248
|
|
530
|
250
|
|
535
|
252
|
|
540
|
255
|
|
545
|
257
|
|
550 |
260
|
|
555
|
262
|
|
560
|
265
|
|
565
|
267
|
|
570
|
270
|
|
575
|
272
|
|
580
|
275
|
|
585
|
277
|
|
590
|
280
|
|
595
|
282
|
|
600
|
285
|
|
605
|
287
|
|
610 |
290 |
Table A
Note: We list "spoke-end diameters" every 5mm step. If your "spoke-end diameter" measure is in between 2 steps adjust your spoke length consequently.
Example 1: your "spoke-end diameter" is 563mm use 266mm spoke.
Example 2: your "spoke-end diameter" is 567mm use 268mm spoke.
Example 3: your "spoke-end diameter" is 569mm use 270mm spoke.
Lacing: radial on interal flange side, use only D/B spokes (central section equivalent to Ø 1.5mm).
3)CyberRear SL-2
Drive side - Elbow spokes
|
Spoke-end Diameter
|
Spoke Length
24H |
Spoke Length
20H and 28H |
|
515
|
259-260
|
267
|
|
520
|
262
|
269-270
|
|
525
|
264-265
|
272
|
|
530
|
267
|
274-275
|
|
535
|
269-270
|
277
|
|
540
|
272
|
279-280
|
|
545
|
274-275
|
282
|
|
550 |
277
|
284-285
|
|
555
|
279-280
|
287
|
|
560
|
282
|
289-290
|
|
565
|
284-285
|
292
|
|
570
|
287
|
294-295
|
|
575
|
289-290
|
297
|
|
580
|
292
|
299-300
|
|
585
|
294-295
|
302
|
|
590
|
297
|
304-305
|
|
595
|
299-300
|
307
|
|
600
|
302
|
309-310
|
|
605
|
304-305
|
312
|
|
610
|
307
|
314-315
|
|
610 |
309-310 |
317 |
Table B
Note: We list "spoke-end diameters" every 5mm step. If your "spoke-end diameter" measure is in between 2 steps adjust your spoke length consequently.
Lacing: correct lacing patterns with elbow spokes must be as shown below.
Spoke-End-Diameter
How to measure "Spoke-End-Diameter"
Spoke-end diameter is not ERD !
Spoke-end diameter depends on your rim and nipple type and length.
Below you see how to measure SED for both nipple types:
External nipple configuration
Internal nipple configuration
Take measures very precisely because a well correct nipple/spoke assembly accepts a spoke-length tolerance of +/-1mm only.
(All measures are expressed in mm)
External nipple configuration
1) Insert two J-spokes (random size) with the nipples (of your final build) into 2 opposite rim holes.

This simple trick helps to keep spokes aligned and slightly tensioned.

2) Precisely measure distance between nipples.

Be careful to take measure between the 2 nipple-ends.

3) Add 2x by the nipple height (of your final build) to the measure above.
This gives "Spoke-End-Diameter".
Note: with slotted nipples measure height inside the cut.

Internal nipple configuration
You can get the necessary data following the procedure below:
1) Precisely measure outer rim diameter (A).

2) Insert a nipple of your final build into a hole (use a spoke to hold nipple in position).
3) Precisely measure distance between nipple-top and outer rim diameter (B).

This is the correct caliper positioning inside the rim (don't cut your rim!)

4) A-2B = "Spoke-End-Diameter".
Tech Tips
CyberRear / Type of Use and Rider Weight
The whole hub lineup named "Cyber" is specifically designed for Road use.
We do not limit rider weight since the structure of all our hubs is very well dimensioned.
However make sure your riding environment is "Road" type and that that shortest gear ratio is in the "Road" range, that means not shorter than 1:1.
In case you need shorter gear ratio or to ride offroad we recommend to use the "Hyper" hub lineup that's specifically designed for MTB and offroad use where the gear ratio can be twice more short.
Additionally the whole "Hyper" lineup comes standard equipped with ABI 440c stainless bearings and additional external seals in order to withstand to the adverse environment of offroad riding.
Hub-Servicing / general
We warmly recommend to read well the instruction manuals and execute a cleaning-servicing by yourself.
As general rule we can't recommend bicycle mechanics for the servicing of Extralite hubs unless they are truly ready to follow our manuals very strictly.
That because our hubs work on rather different principles than the common brand/models on the market.
In case of bearing replacement you find good guidelines on our Tech Tips / Bearing area.
If you need you'll need a really full servicing you can send your hub/wheel to us for a proper service.
(as ready ask for shipping instructions and authorization code)
Regularly service your Hyper hub strictly following its instruction manual step by step (don't skip any step).
Again: never wrench or service Extralite hubs by instinct or only by past experience!
Micro-Tuner
All our hubs feature a device "micro-tuner" that offers a very precise setting of bearing preload.
Remind to execute the "micro-tuner" tuning after your wheel has been laced, see how on hub manual at the Bearing-Preload chapter.
Basic diagnosis
When the micro-tuner is correctly set you should not feel lateral movements at all.
- Axial play (lateral movement left-right of axle) will also produce play at the rim.
- Radial play (when you have up-down movement at the hub) means the outer part is wider than the inner part: worn our bearing or axle etc.
In all cases the freehub should not have any noticeable radial play.
If you have a noticeable radial play at the freehub check it well, probably a bearing is gone or so blocked that has worn-out the axle.
Hub-noises / general
In over a decade we never found a single hub capable of making noise by itself (unless with a completely blown bearing or freehub).
Once the hub has been properly serviced and micro-tuner position adjusted (see "bearing-preload" procedure on manual) I would recommend to investigate well on the hub peripherals.
That's to say:
- Spokes (that should not touch each other)
- Frame dropout (where even a small 0.2mm play of the axle can produce an annoying noise)
- Cog assembly (that doesn't need grease nor more than 25Nm torquing to stay properly in position).
- Remind that the cause of the noise is generally never where you suppose.
Keep the above well in mind and you'll be able to sort it out with some dedication.
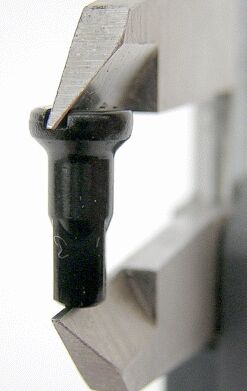
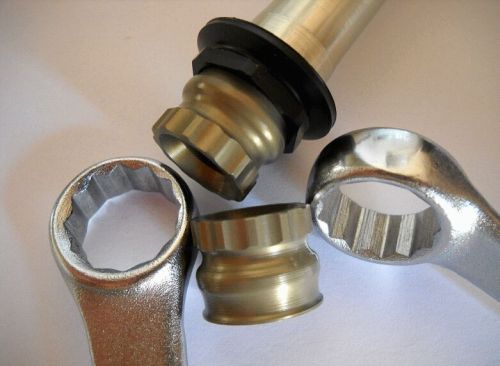
Opening "Rear Axle-Ends" on Thru-axle models
Use only two 17mm closed wrenches.
Feel free to ask for additional tech info, we'll be happy to help!
Manuals
Spare Parts
Spare Parts
103,48 €
41,74 €
10,43 €
10,43 €
2,61 €
16,52 €
86,09 €
51,30 €
10,43 €
10,43 €
10,43 €
129,57 €
7,83 €
1,74 €