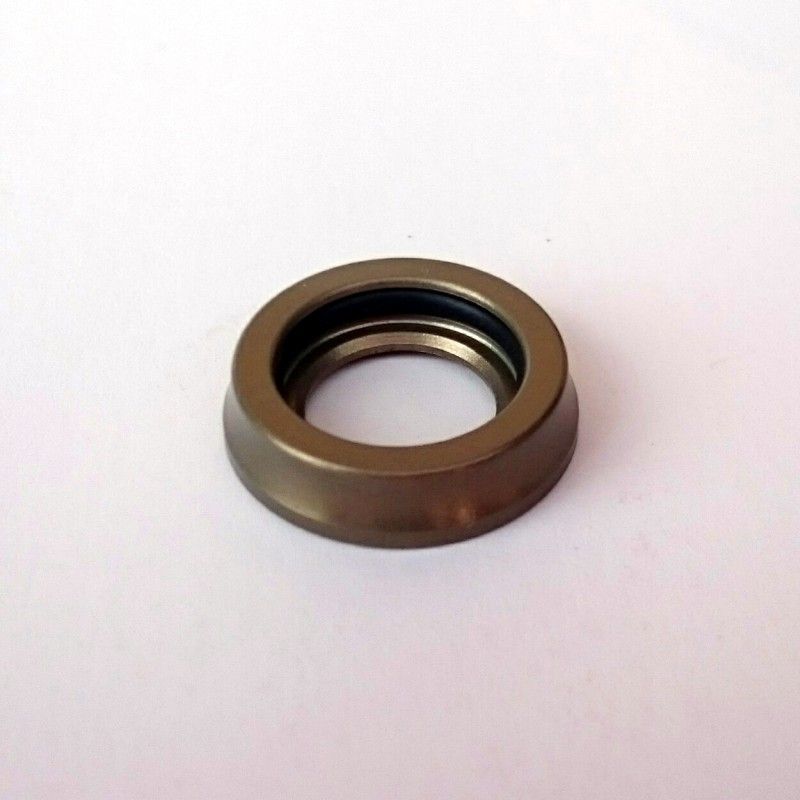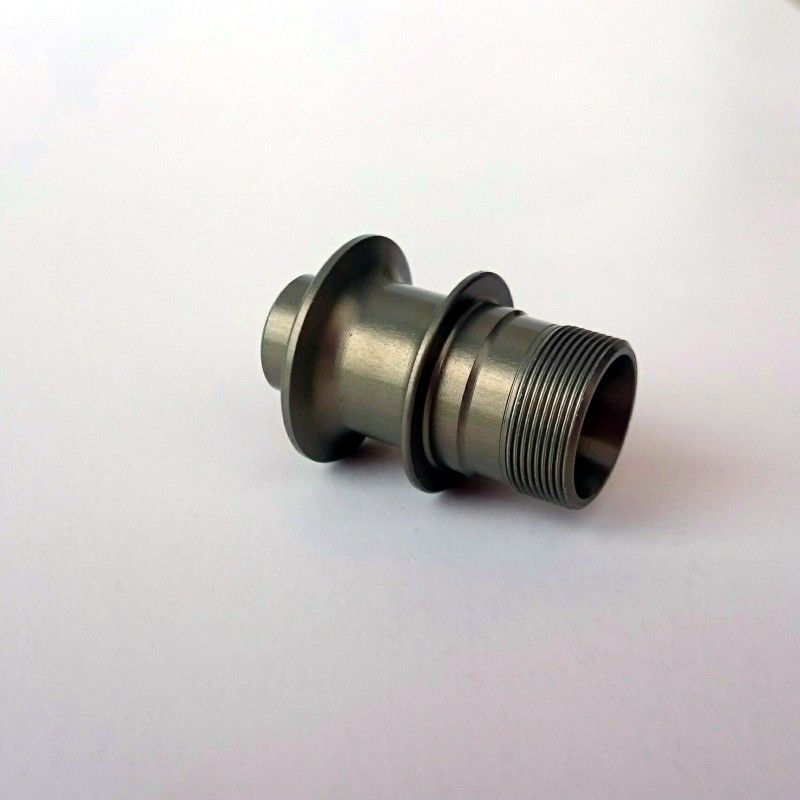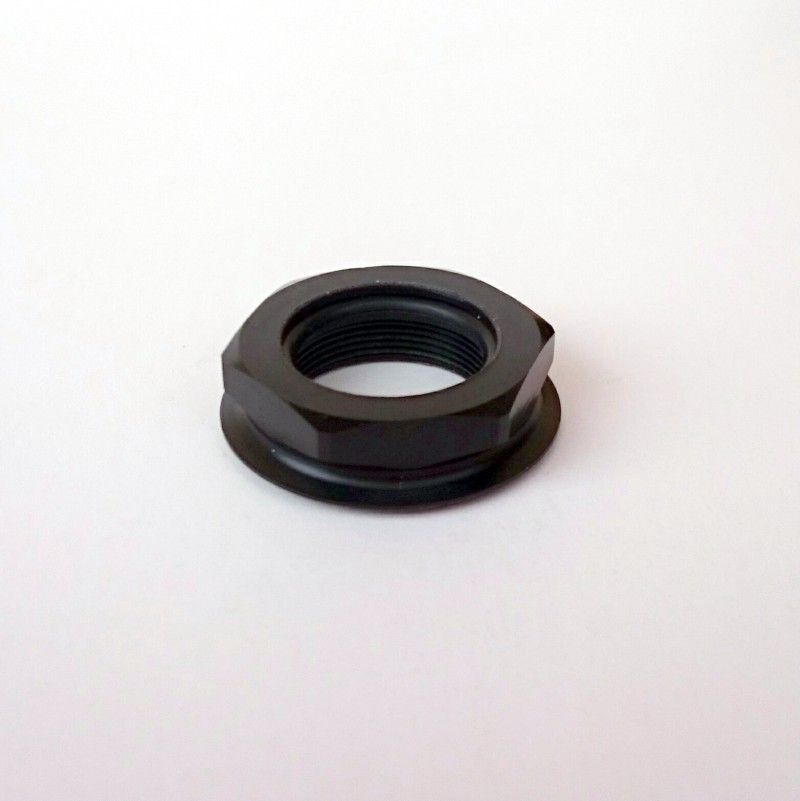
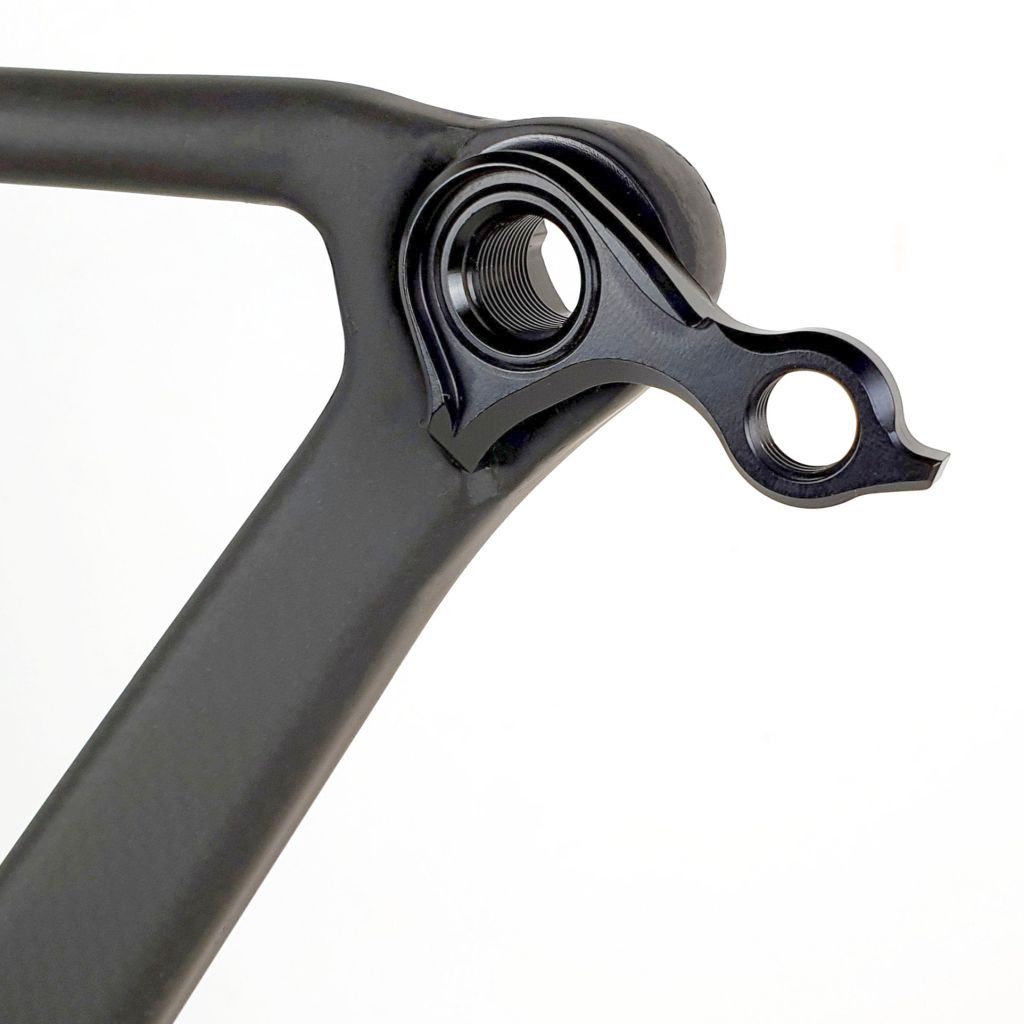
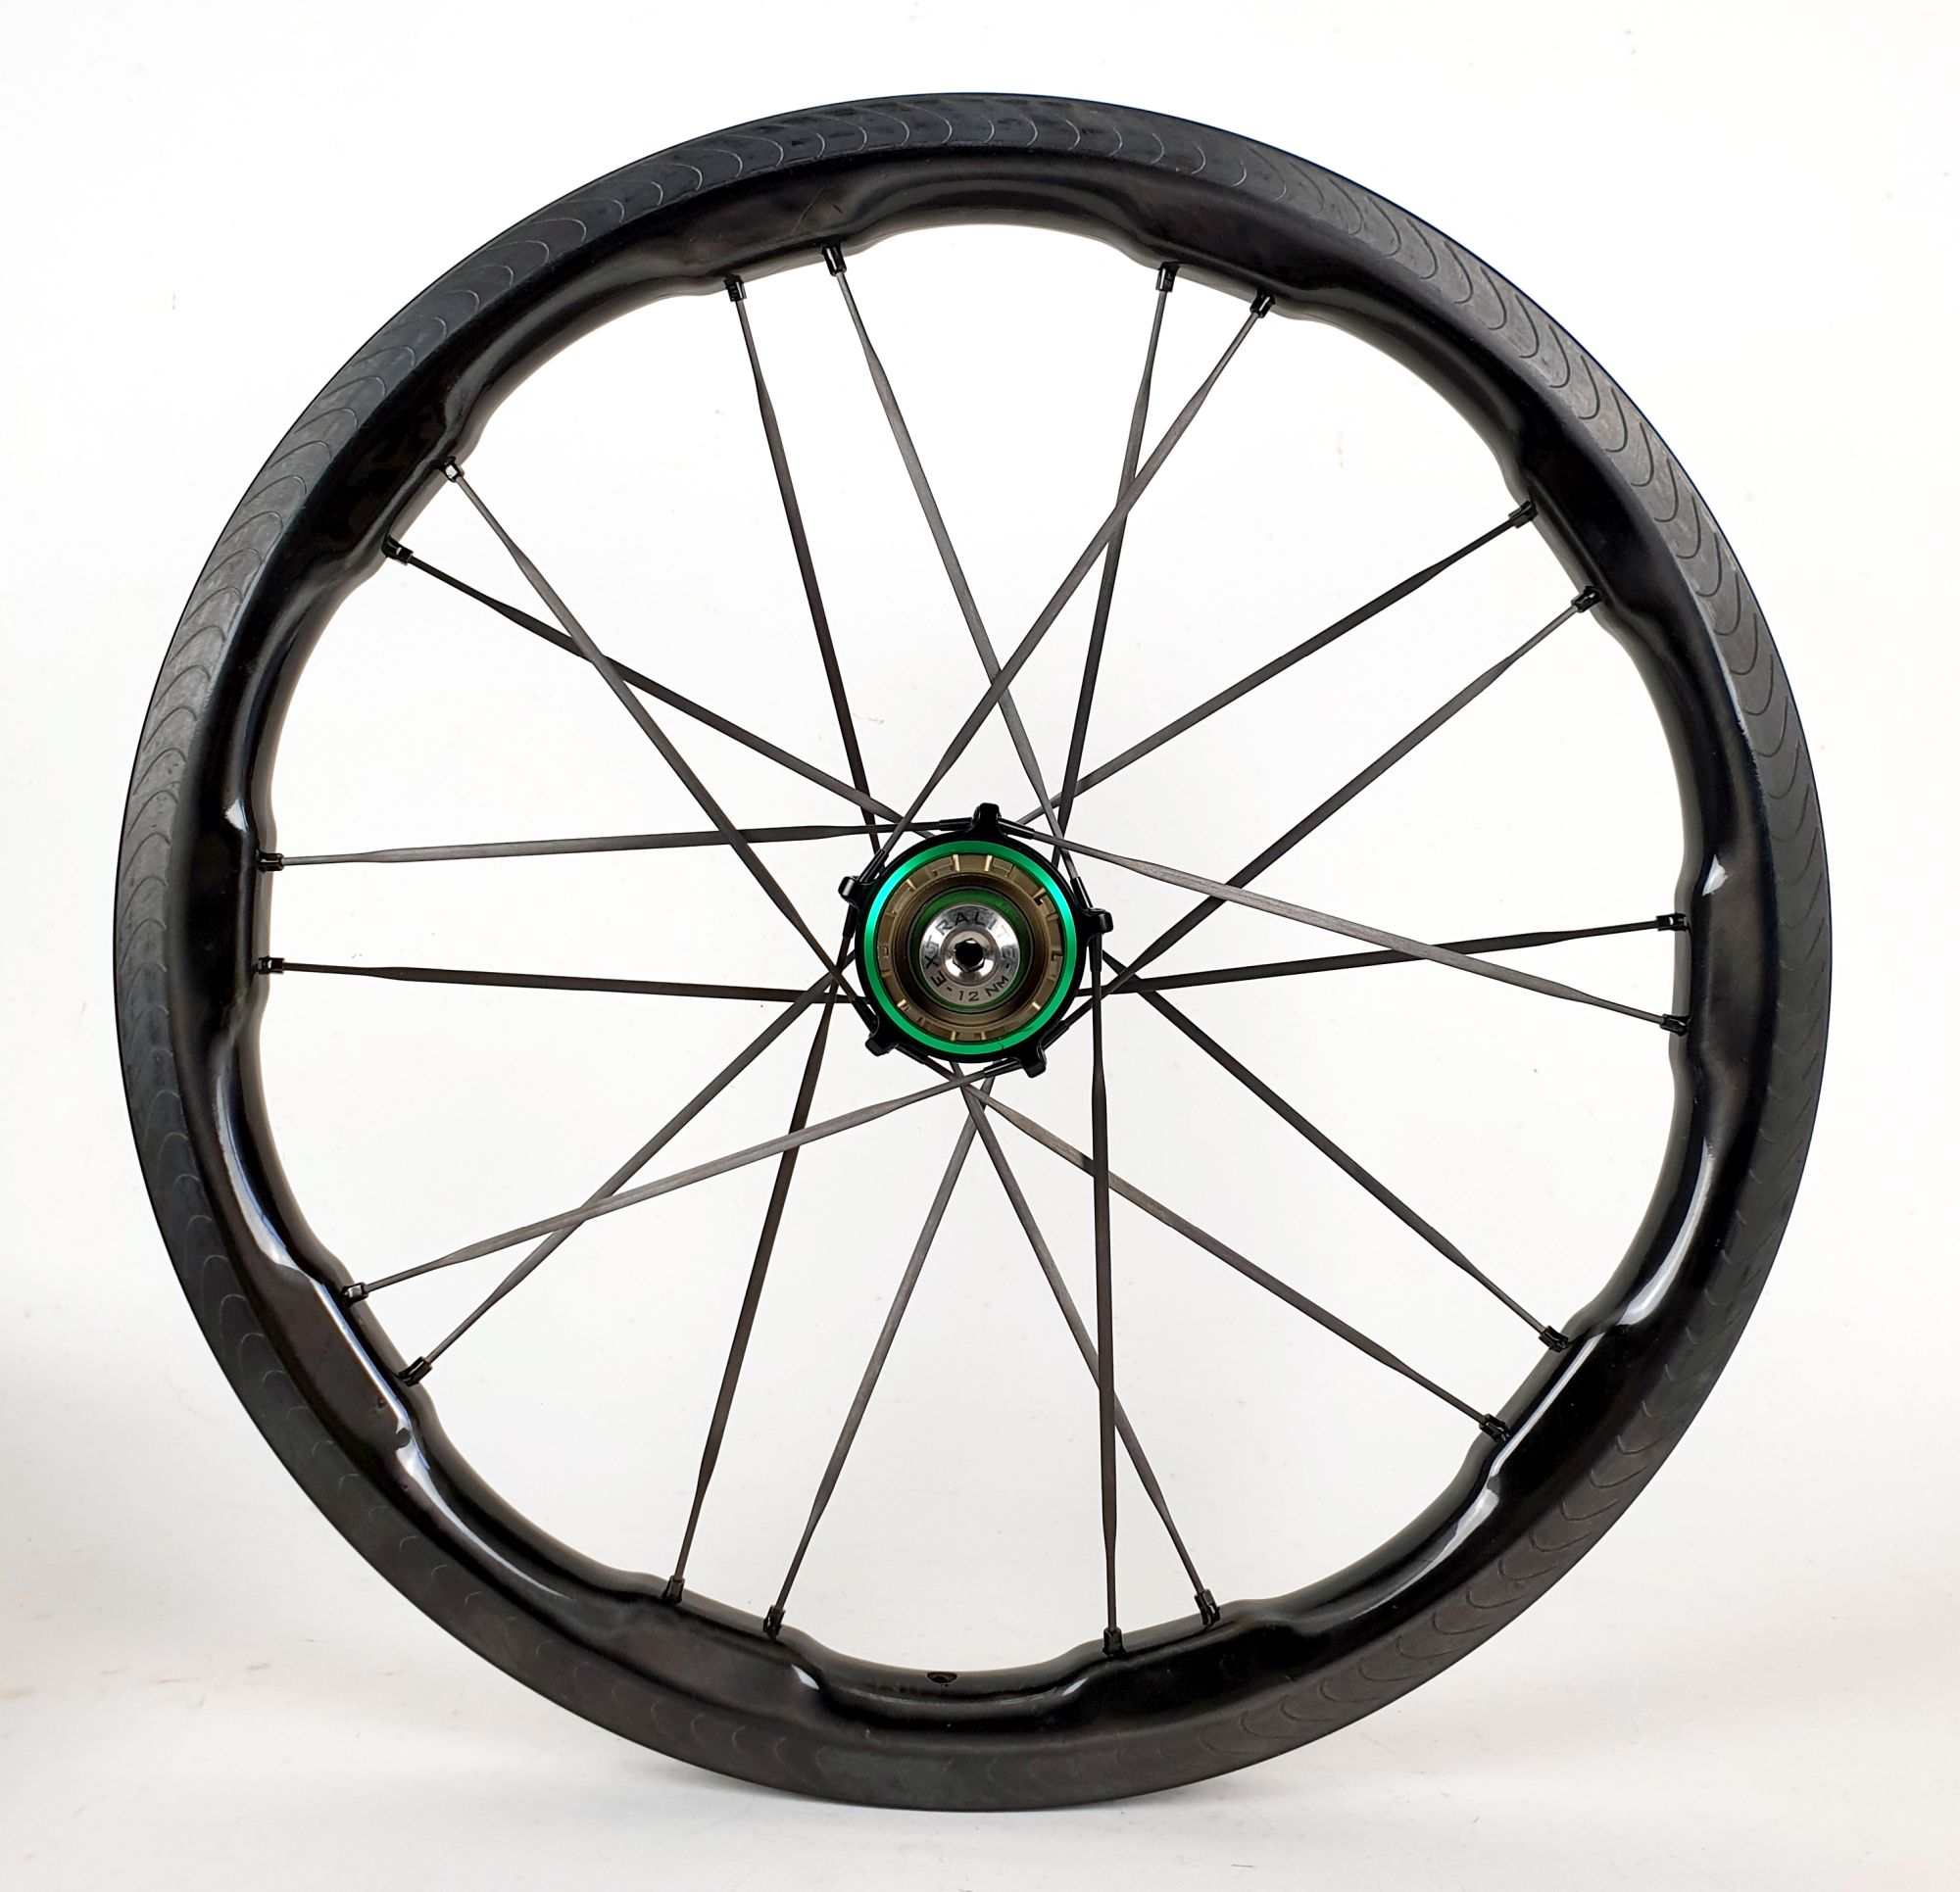

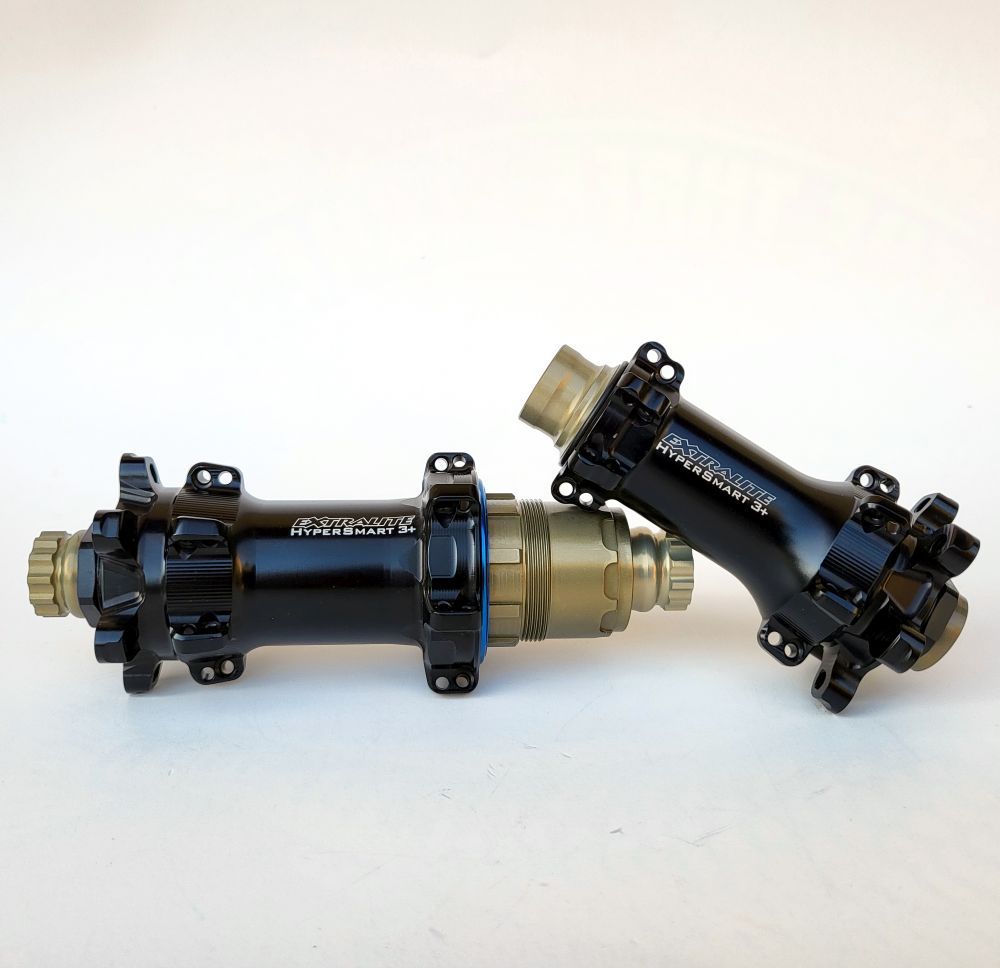
CyberFront SP-X 44g
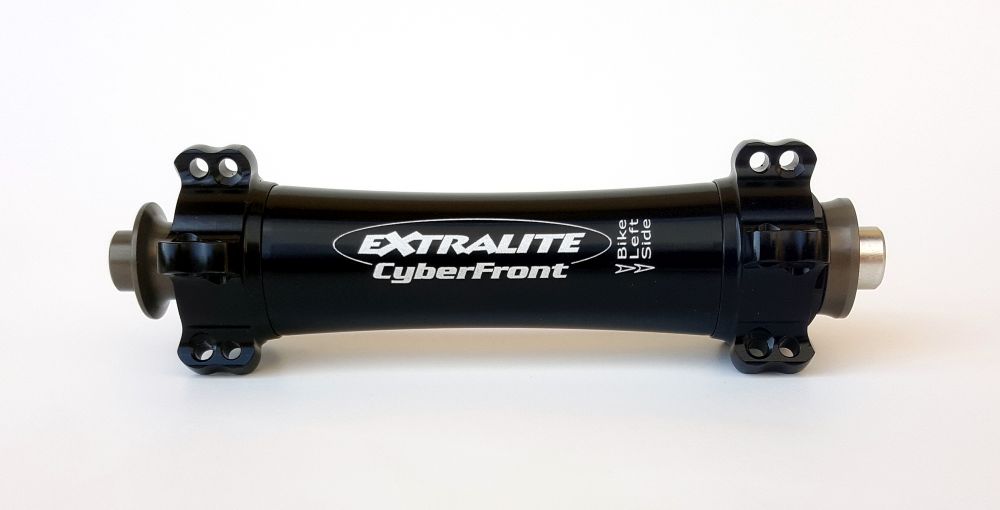
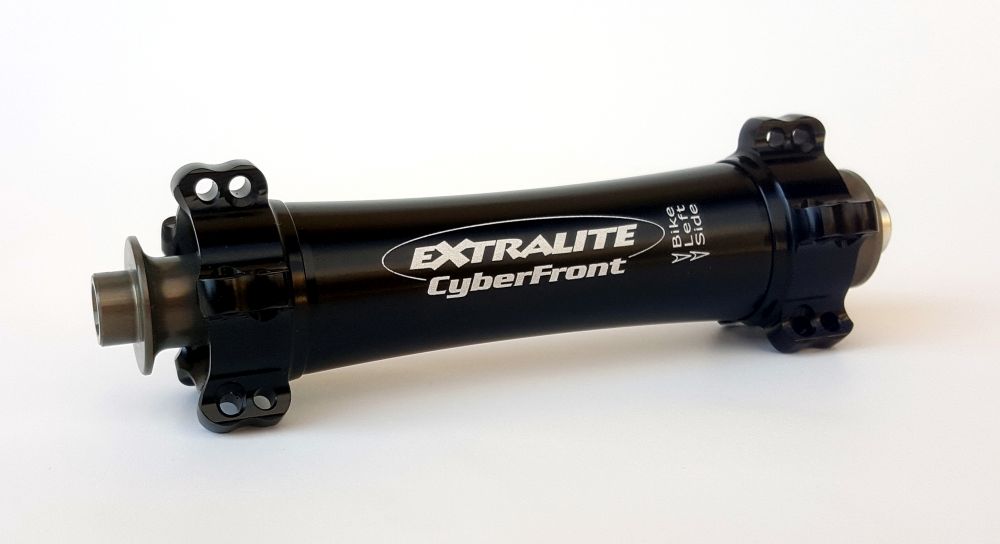
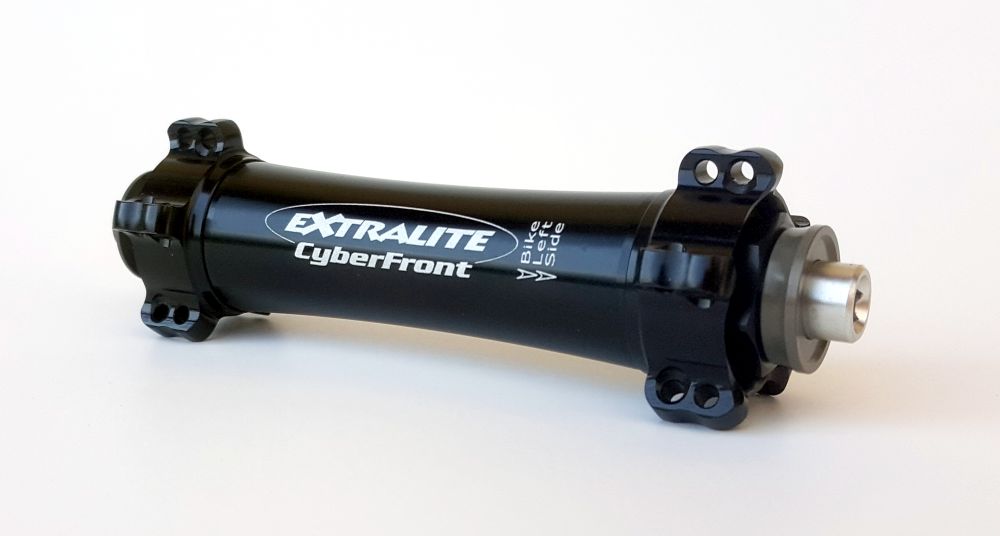

To minimize torsional static forces flanges self-align under spoke lacing tension. As every Extralite products CyberHubs exceede UNI/DIN Safety standards. Safety tests simulate a very strong 90kg (200lb) rider output.
Tech info
Description
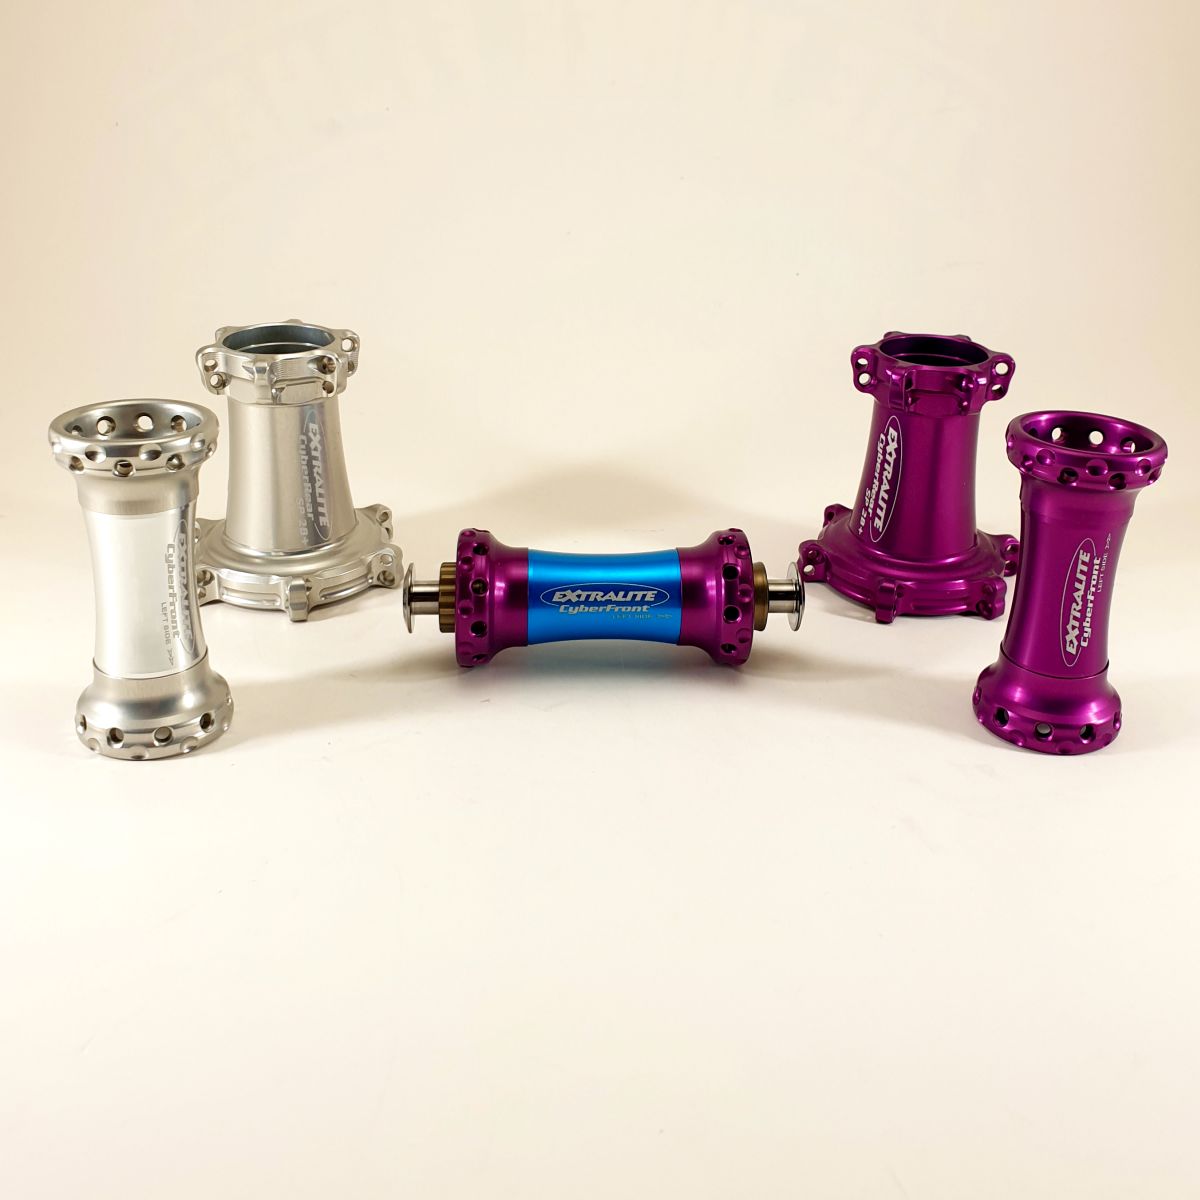
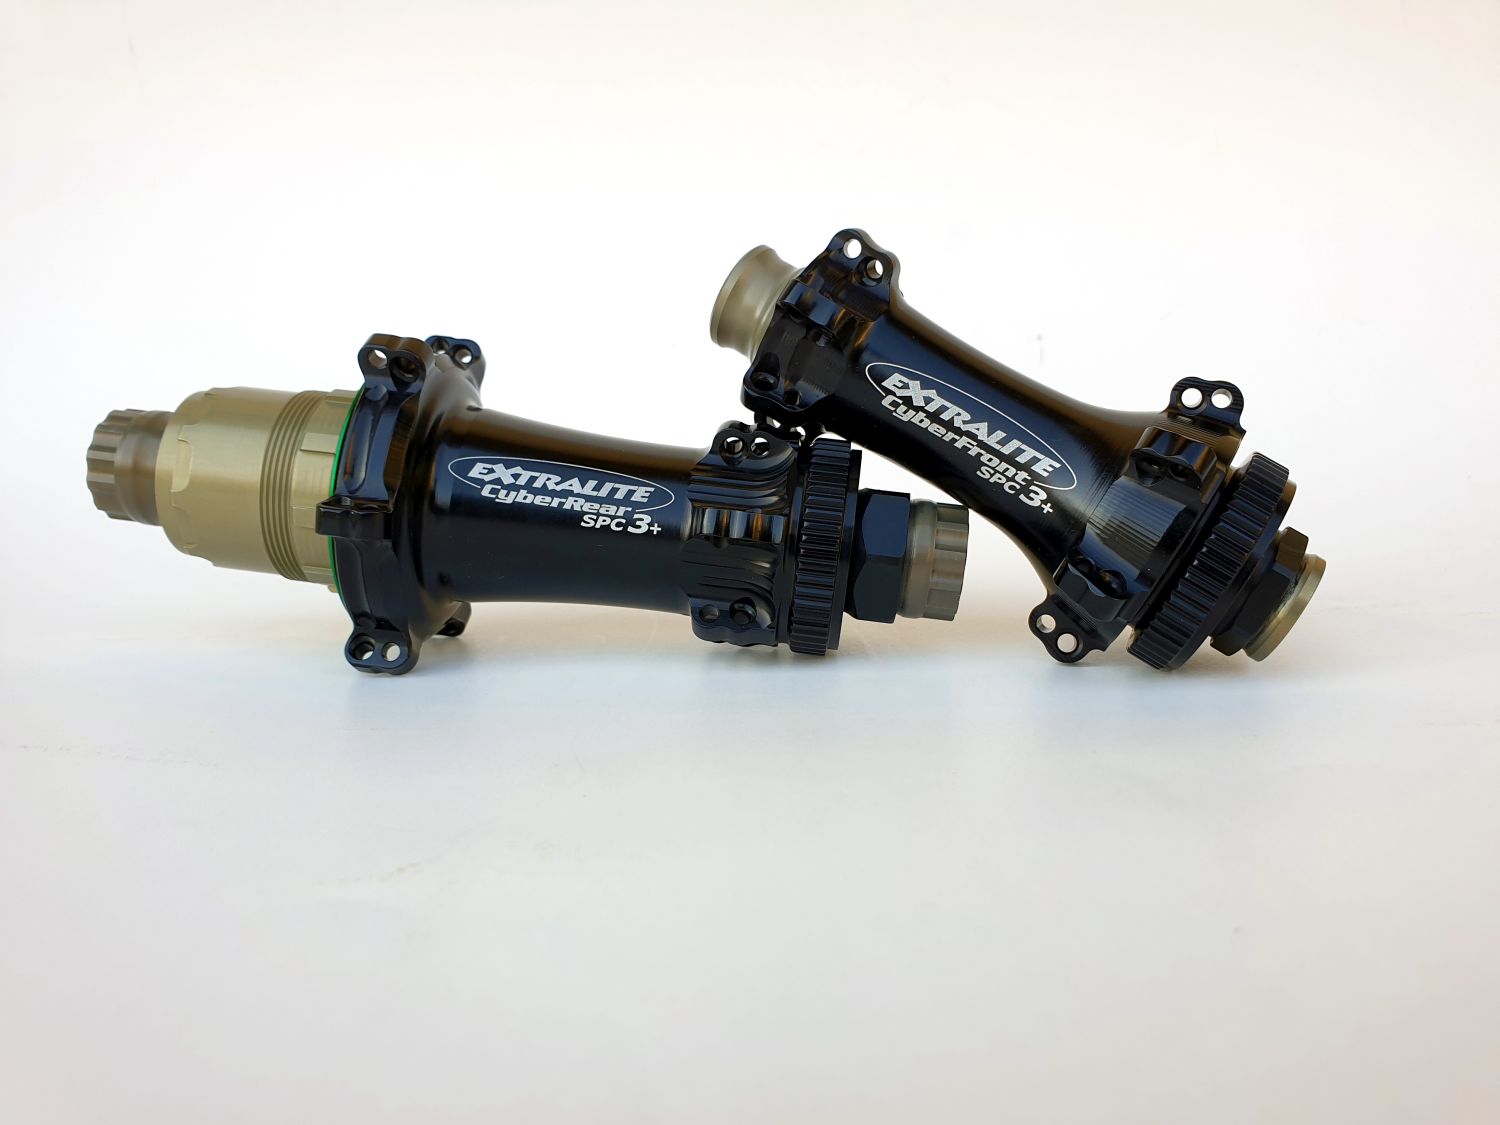
Road-race straight-pull front hub, crossed lacing pattern (high spoke tension allowed).
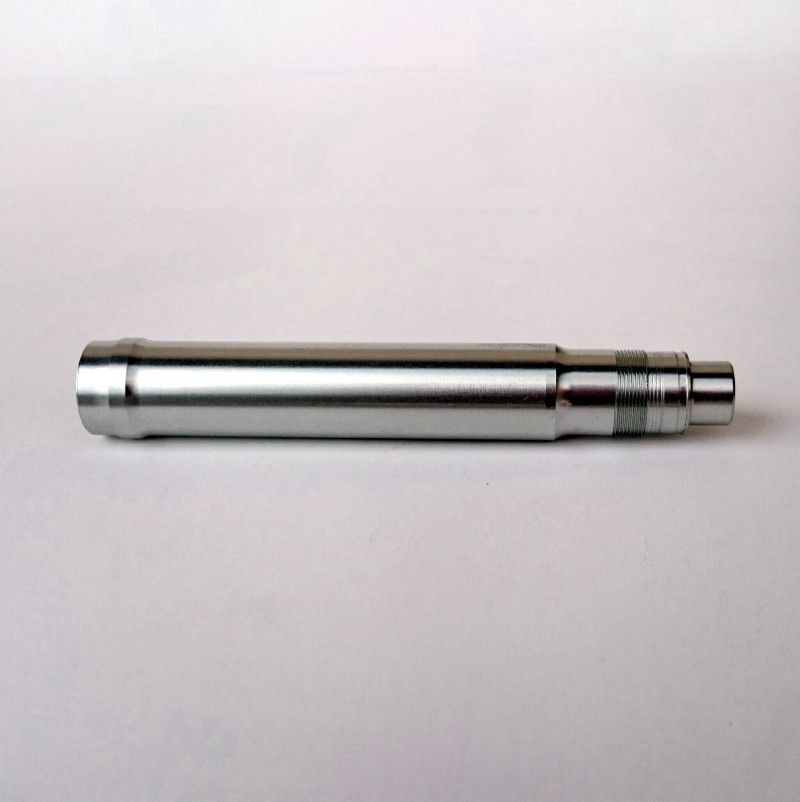
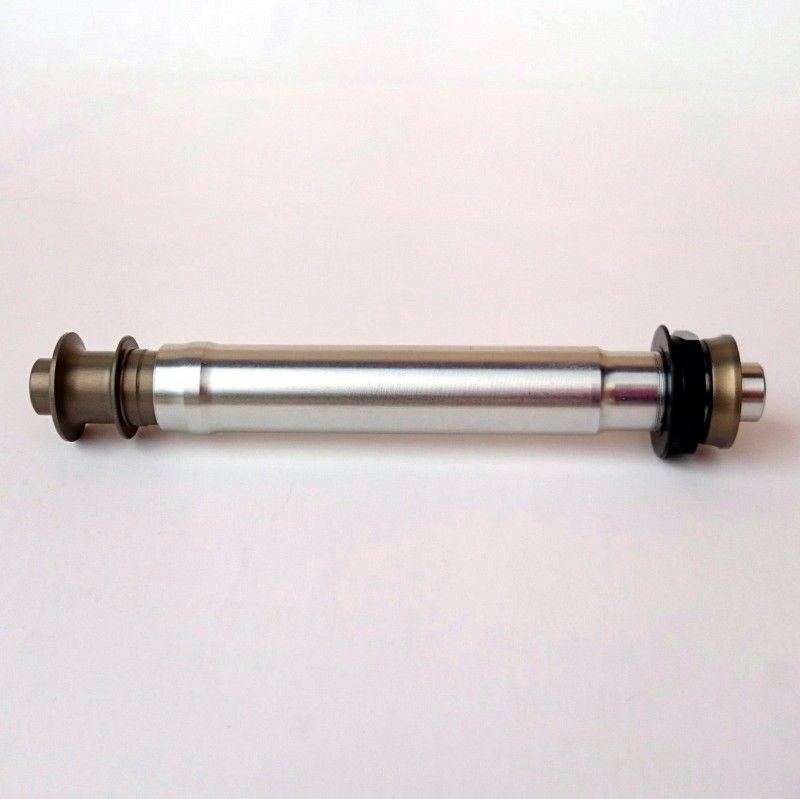
QR 9x100mm standard, oversized 14mm axle.
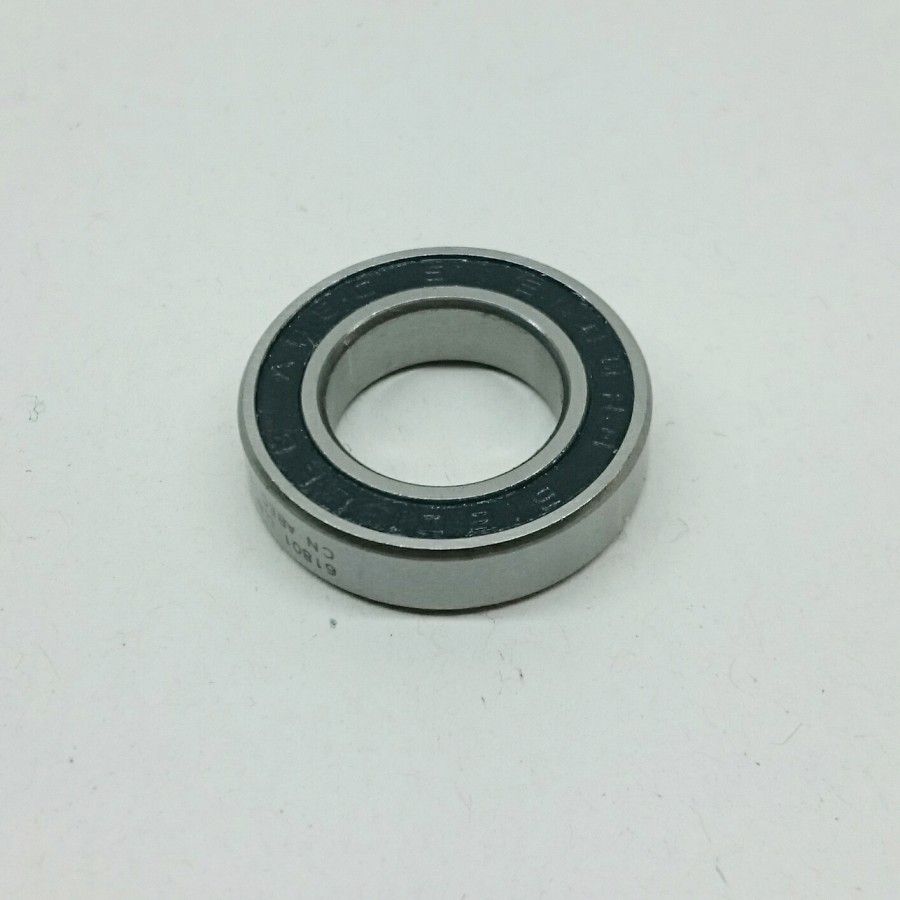
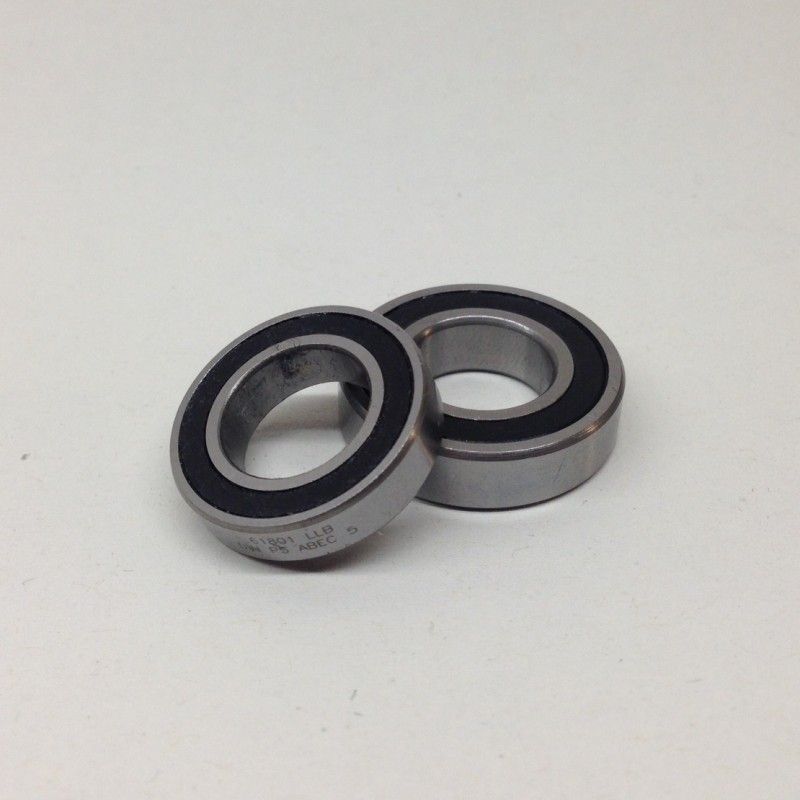
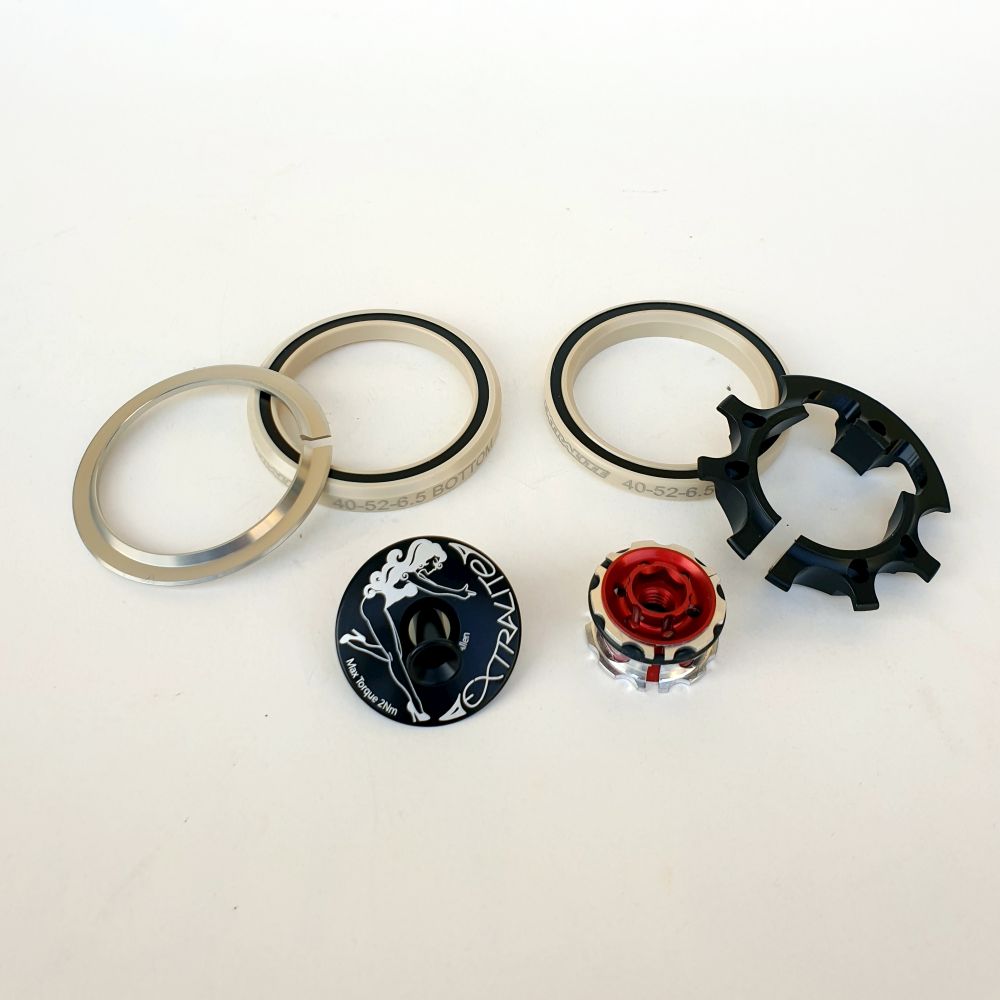
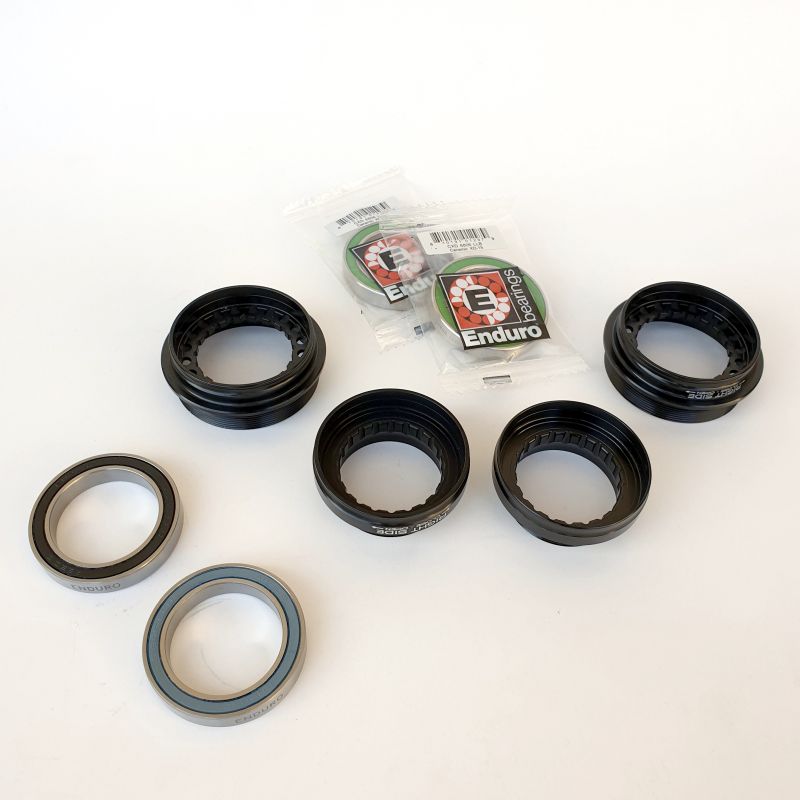
Low-friction sealed cartridge bearings with external hexagonal preload tuner.
Black anodized body with laser etched graphics, "Hart-Coated" axle-ends.
Lacing
CyberFront SP-X wheel-building
Here you find all the necessary instructions to realize your dream wheels with pre-calculated spoke lengths.
Follow instruction step by step:
1)Measure your "spoke-end diameter"
2)Find your front spoke length (left and right side) on table A
(All measures are expressed in mm)
3)Lace the wheel respecting correct lacing pattern (see below)
4) Notes about different spoke materials (Butted-steel, Berd, Carbon-metal)
Maximum spoke tension: Refer to manual
Warning: spoke lacing and tensioning require skills and experience,refer to an expert professional wheel builder for these operations.
1) "Spoke-End-Diameter"
Rim manufacturers always offer ERD figures however we warmly recommend to precisely measure the rim+nipple combination.
Basically a correct spoke calculation requires exact "spoke-end diameter" and rim drilling.
Spoke-end diameter depends on your rim internal diameter and nipple type.
How to measure "Spoke-End-Diameter"
2) CyberFront SP-X
Left and Right side - Straight-pull spokes
|
Spoke-end Diameter
|
Spoke Length
20H |
|
515
|
262
|
|
520
|
265
|
|
525
|
267
|
|
530
|
270
|
|
535
|
272
|
|
540
|
275
|
|
545
|
277
|
|
550 |
280
|
|
555
|
282
|
|
560
|
284-285
|
|
565
|
287
|
|
570
|
289-90
|
|
575
|
292
|
|
580
|
294-295
|
|
585
|
297
|
|
590
|
299-300
|
|
595
|
302
|
|
600
|
304
|
|
605
|
307
|
|
610
|
309
|
|
615 |
311 |
Table A
Note: We list "spoke-end diameters" every 5mm step. If your "spoke-end diameter" measure is in between 2 steps adjust your spoke length consequently.
Example 1: your "spoke-end diameter" is 563mm use 286mm spoke.
Example 2: your "spoke-end diameter" is 602mm use 305mm spoke.
Example 3: your "spoke-end diameter" is 604mm use 306mm spoke.
3) CyberFront SP-X
Left and Right side - Straight-pull spokes
Lacing: correct lacing patterns with straight-pull spokes must be as shown below.

4) Spoke Materials
Steel Spokes: Hub f langes accept standard spoke heads however we recommend to use only high quality "butted" steel spokes.
Butted spokes are lighter and allow a better spoke aligningment that translates in a reduced stress of the parts and an overall stiffer lacing.
Berd spokes: Flanges are designed to fit Berd spokes too.
All edges are well rounded thereafter "Tangential Straightpull Inserts" are not necessary.
Consequently adjust Table A lenghts as follows:
- subtract 2mm from Table values if "Without Tangential Straightpull Inserts"
- keep same values on Table if "With Tangential Straightpull Inserts"
Berd Tangential Straightpull Insert
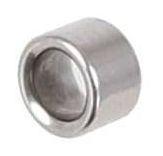
Carbon-Titanium Spokes: Hub flanges accept composite spoke that feature standard thin metal ends (Titanium or Steel) since
the short metal head should be well bendable in order to get the spoke correctly aligned with the rim.
When lacing Carbon Titanium spokes make sure to add this important step to the lacing process:
- As spokes are fully tensioned settle spoke heads (before final truing).
- To settle spoke heads push the metal area of the spoke immediately after the hub flange with
a small wood/plastic rod in order to settle them permanently to the exact direction.
- Then execute the final truing.
Note that cabon-metal spokes are extremely sensitive to the following:
- Twist: thread-to-head section should never get twisted not even during lacing.
- Spoke to nipple-alignment: each nipple should get perfectly aligned with its spoke.
- Avoid exposure to hi-temperatures as behind car windows under hot sun, transport, storage etc.
- Avoid hits with any hard object during riding, transport, storage etc.
Fully respect these basic info before and after installation.
Spoke-End-Diameter
How to measure "Spoke-End-Diameter"
Spoke-end diameter is not ERD !
Spoke-end diameter depends on your rim and nipple type and length.
Below you see how to measure SED for both nipple types:
External nipple configuration
Internal nipple configuration
Take measures very precisely because a well correct nipple/spoke assembly accepts a spoke-length tolerance of +/-1mm only.
(All measures are expressed in mm)
External nipple configuration
1) Insert two J-spokes (random size) with the nipples (of your final build) into 2 opposite rim holes.

This simple trick helps to keep spokes aligned and slightly tensioned.

2) Precisely measure distance between nipples.

Be careful to take measure between the 2 nipple-ends.

3) Add 2x by the nipple height (of your final build) to the measure above.
This gives "Spoke-End-Diameter".
Note: with slotted nipples measure height inside the cut.

Internal nipple configuration
You can get the necessary data following the procedure below:
1) Precisely measure outer rim diameter (A).

2) Insert a nipple of your final build into a hole (use a spoke to hold nipple in position).
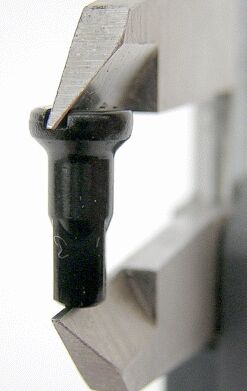
3) Precisely measure distance between nipple-top and outer rim diameter (B).

This is the correct caliper positioning inside the rim (don't cut your rim!)

4) A-2B = "Spoke-End-Diameter".